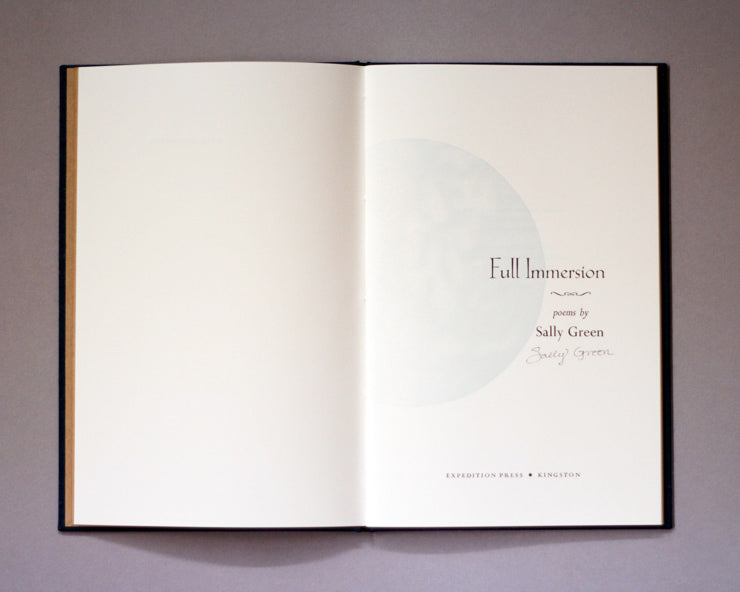
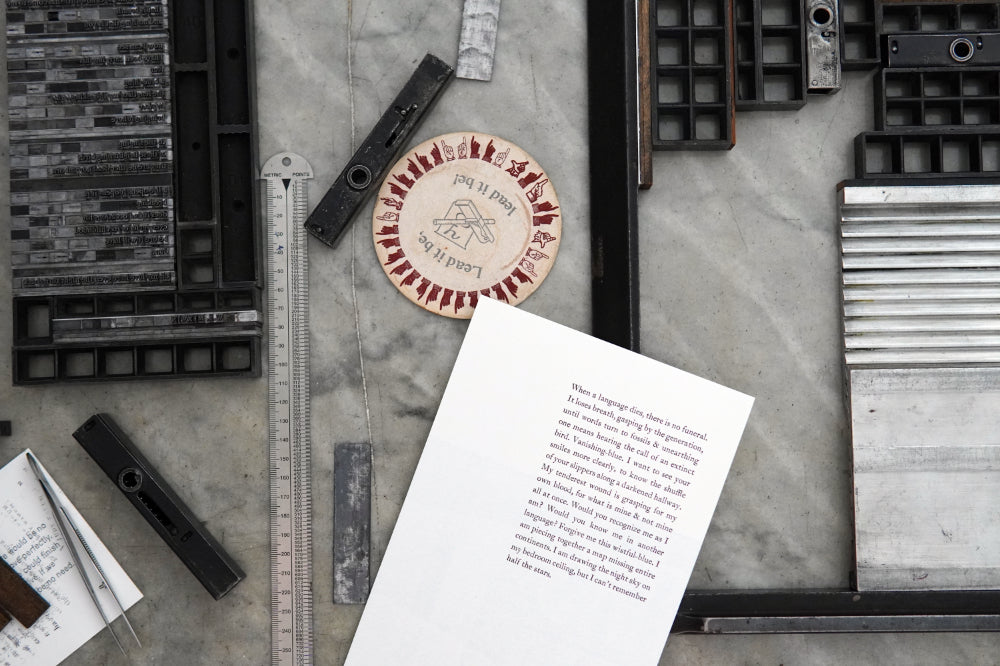
Etching Steel Book Covers

Preparing the saline sulfate etch: equal parts copper sulfate and table salt.
The steel book saga continues! We’ve arrived at the cover treatment, which consisted of etching the cover art into the steel and then applying a rusted patina. There’s plenty of info online about etching solutions for copper and zinc, but not so much for steel as it isn’t used in traditional printmaking. When researching less-toxic solutions I came across the Edinburgh Etch and the Saline Sulfate Etch (what we’re doing here). I was skeptical at best, and I had a hard time locating copper sulfate. Then one day my hardware-store neighbor walked across the street and said “hey, I’ve got a customer who just etched some steel, and he’s curious about your metal books. Can I bring him over?” In walked the exact solution I needed, with a sample of the exact effect I wanted to achieve, and guess what: the local hardware store does carry copper sulfate, though they didn’t know it. It’s in the plumbing section, and it’s called Root Kill.
How to Etch Mild Steel

I used 16 gauge cold rolled mild steel plates. I wiped them down with isopropyl alcohol to remove any remaining oil from the mill, and applied a vinyl decal of the cover art. Then, I mixed this up:
Copper Sulfate Solution (a.k.a. Saline Sulfate Etch, Base Metal Etch)
- rounded 1/2 cup copper sulfate (Root Kill)
- rounded 1/2 cup table salt
- 1 liter hot water (hot from the tap, not boiling)
Put the copper sulfate and salt in a shallow glass or plastic dish (pyrex casserole dishes are great, also disposable paint trays for rollers work well, though are much flimsier). Pour the hot water over and stir gently. Allow a few minutes for the copper and salt to dissolve.

Now place the steel plate in the etch, and watch it turn pink. It looks really weird. Agitate the etch every 15 min or so, or just pick up the plate (with gloves on) and wipe the pink residue off, with an old rag or a crappy chip brush. The deal is that as the etch eats the metal, the resulting residue builds up and blocks the etch’s access to the steel – so it’s a constant vicious cycle.
I etched my plates for 3 hours which gave about 1/32″ of relief, something you can definitely feel and appreciate when you run your fingers over it. I then rinsed ’em real good with water and called it good. Well, till the patina process commenced. But that’s another post.
Of note, the earlier experiments I did with sheet steel (the exact same material as above, only hand cut not water jet) came out with a much more varied etch. The metal was pocked and irregular, pretty cool effect. The water jet steel etched much more cleanly. Best guess is the water jet process cleaned off all the ‘mill scale’ – oxidation that caused the irregular effect I found in the earlier trials. Also, if you don’t know anyone with a vinyl cutter, electrical and/or other vinyl tape and an x-acto work well for a mask. I just adhered a square of vinyl tape on the steel and cut a stencil directly on top of the metal. Of course there’s wax and oil and well.. the possibilities are endless really. I’m excited to experiment further!

Bulk etching set-up on one side, plates awaiting the patina process on the other.